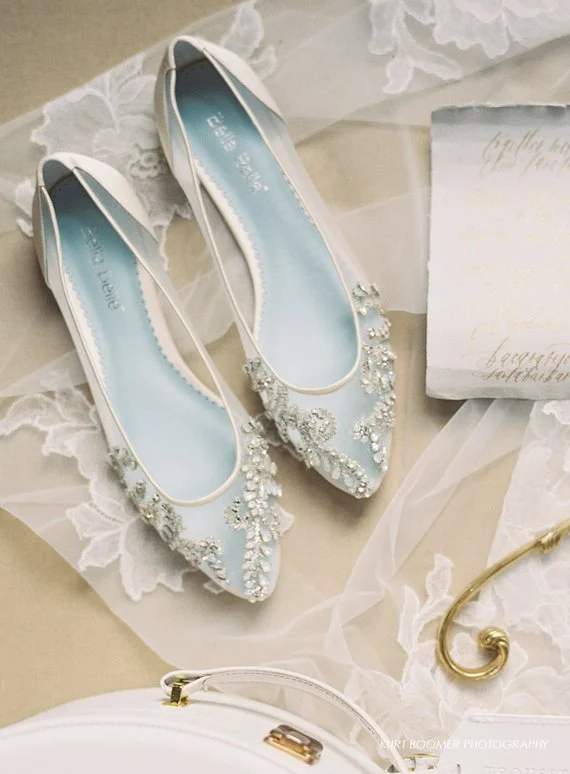
How To Make This Wedding Invite for Under $25 (no design skill or experience needed!)

Disclosure: All of these links are affiliate links, which means that at no extra cost to you, I receive a small commission if you purchase from any of these links. Thanks for supporting my little blog!
If you've been poking around with the idea of DIYing your wedding invitations, you've probably realized that it feels like a great idea until you start to figure out how to do it.
When I first started my stationery business, I honestly didn't know much about paper or printing. I took a graphic design class in college and my brother is a graphic designer who would give me tips every now and then, but that was it. I was on my own to figure out how to design, where to get good fonts, and so much more.
In time, I've figured out quite a lot and feel like I'm on better footing (with room to grow, of course!). And since I know doing all of that researching and sample-ordering from businesses takes time that you as a busy bride don't have, I want to share a few secrets with you today to help you make your invitations. If you're wildly uncomfortable with the idea of designing your own invitations but still want to save money, I'm going to walk you through exactly how to make the above invitation. Or, if you'd like to get a little adventurous and want to add your own customizations, there's room for that too! Best of all, this doesn't require you to use Photoshop or Illustrator or any other complicated software! Let's get going.
What You'll Need:
- Canva account (it's free to set up!)
- Watercolor floral clipart (I'll show you how to purchase and use)
First, you'll need to purchase the watercolor floral clipart. You can do that here on Creative Market. Once you've purchased it, make sure you download the artwork to your computer and save it in an easily accessible file.

Next, go to Canva. This is where you'll be doing all of your assembling. If you don't have an account, you'll need to sign up for free with them. This platform is a fantastic place for people who want beautiful design without the high cost. I love it.
Once you have your account set up, create a new design. You can click on the "invite (portrait)" option, which will automatically configure a 5"x7" invitation for you. Next, click on the "upload" button on the far bottom left toolbar. Click "upload your own designs" and choose the "floral badge.png" file located in your download from Creative Market. It should be under the folder "Flower Bouquets." Once uploaded, drag it onto your canvas. You'll need to then click the "rotate" button at the bottom of the image and drag it 90 degrees clockwise. Then click one of the four corners and drag it until your desired size.

After you have your background, add an extra white rectangle box to widen the space you'll need for all of your information. Click elements, then shapes in the toolbar on the left. Click on the first square box. Change it to white by clicking on the top box, as shown in the bottom screenshot. Then, manipulate your box with the handles on the corners. My box was 330x538.

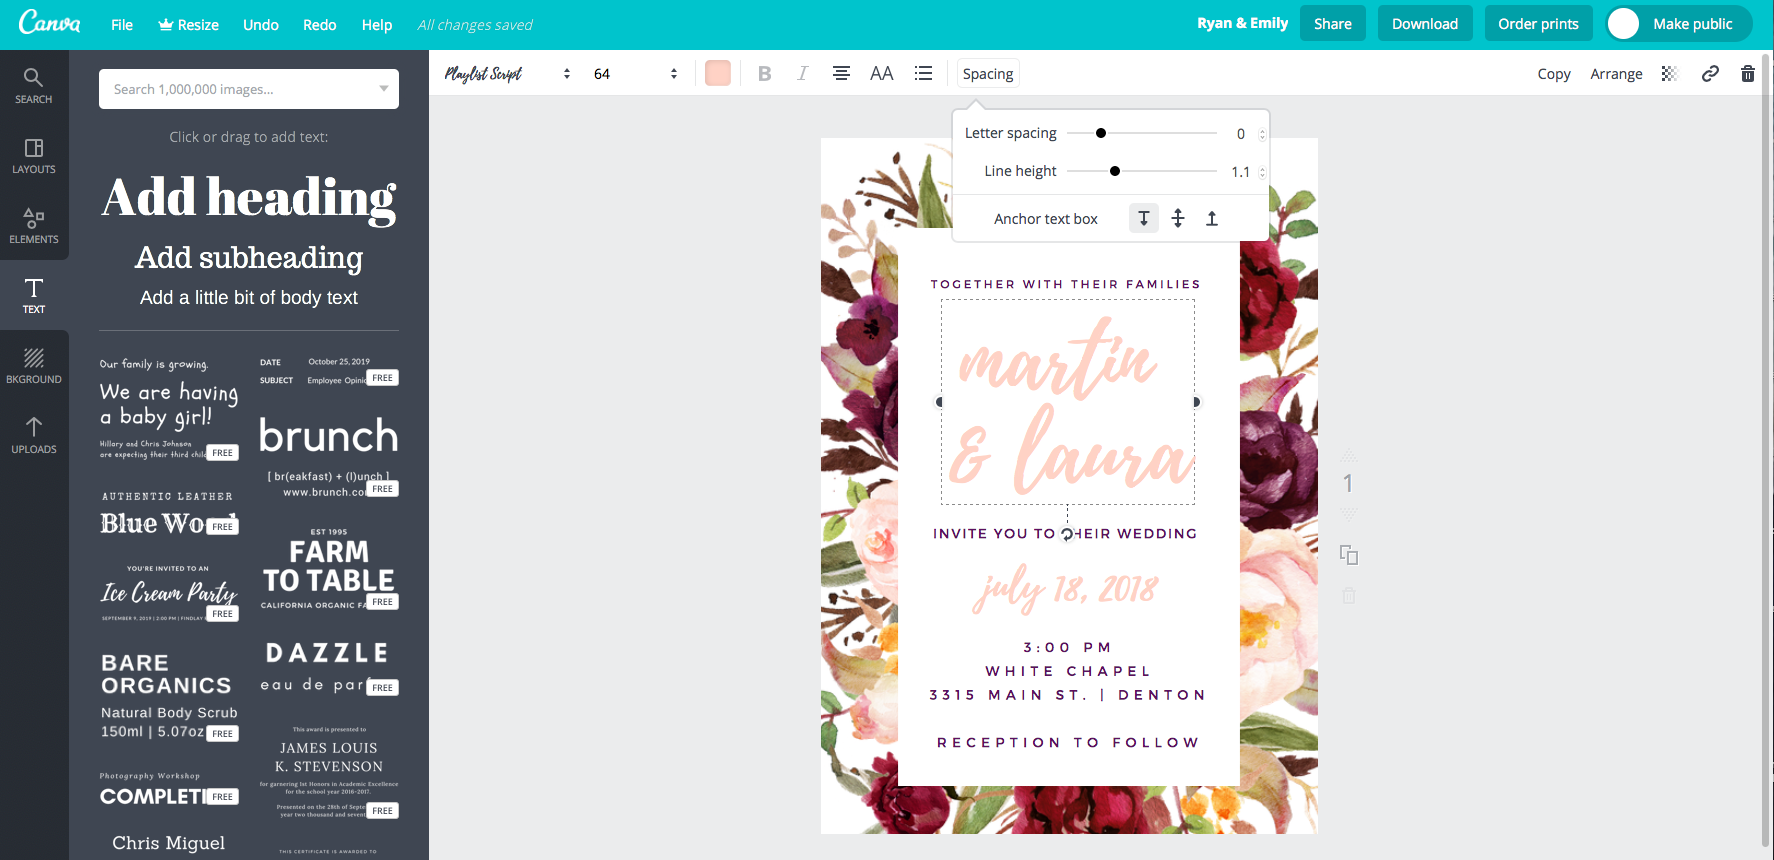
Now for the fun part! Click the text box on the left toolbar, then add heading. This will drop down a box where you can add in your text. I've included the font, sizes, colors, and letter spacing for my design in the screen shot below if you want to copy it verbatim.

To change the color code, click on the color box on the top toolbar. Then click the + sign. Enter the color code at the bottom. To change the spacing, click on the spacing button at the top toolbar. Adjust accordingly. The uppercase button is the double AA on the top toolbar.

Of course, this is also where you can customize to your heart's content! If you're not feeling any of the fonts Canva offers, you can go back to Creative Market and search for a font you love. My personal favorites are Moonfrost, Asterism, Fitri, and Melika. (Note that you'll need to sign up for a 30 day free trial if you'd like to add your own font.)
Once you've gotten all of your information in and you love your design, now it's time to download and print! Click the download button on the top right corner. How you download your design depends on how you'll be printing it. My recommendation is to go through an online printer. This way, you won't have to worry about the hassle of finding the right paper that your printer can handle, printing bleed, etc, etc. Ask your printer what format they'd prefer, then download accordingly.
My online printer recommendation is definitely CatPrint.com. I almost always use their heavy 100 lb uncoated cover stock or heavy 120 lb card stock (gloss or matte) for invitations. If you'd like to see the paper yourself, though, you can also order a sample pack to see all of their options.
For envelopes, my strong recommendation is the luxe blush envelope from Paper Source. These blush envelopes are gorgeously textured and would be a perfect addition to these invites!
YAY! That's it! You've finished your invites and the design was less than $25 and a quarter of your time. Now, go pour yourself a glass of wine and Netflix binge, my friend. You deserve it.
Disclosure: All of the links in this post are affiliate links, which means that at no cost to you, I earn a small commission if you make a purchase.